As it’s been a while since we posted, I though I’d show how we do our buttonholes for basic coats and give some examples to show where the stitches come from.
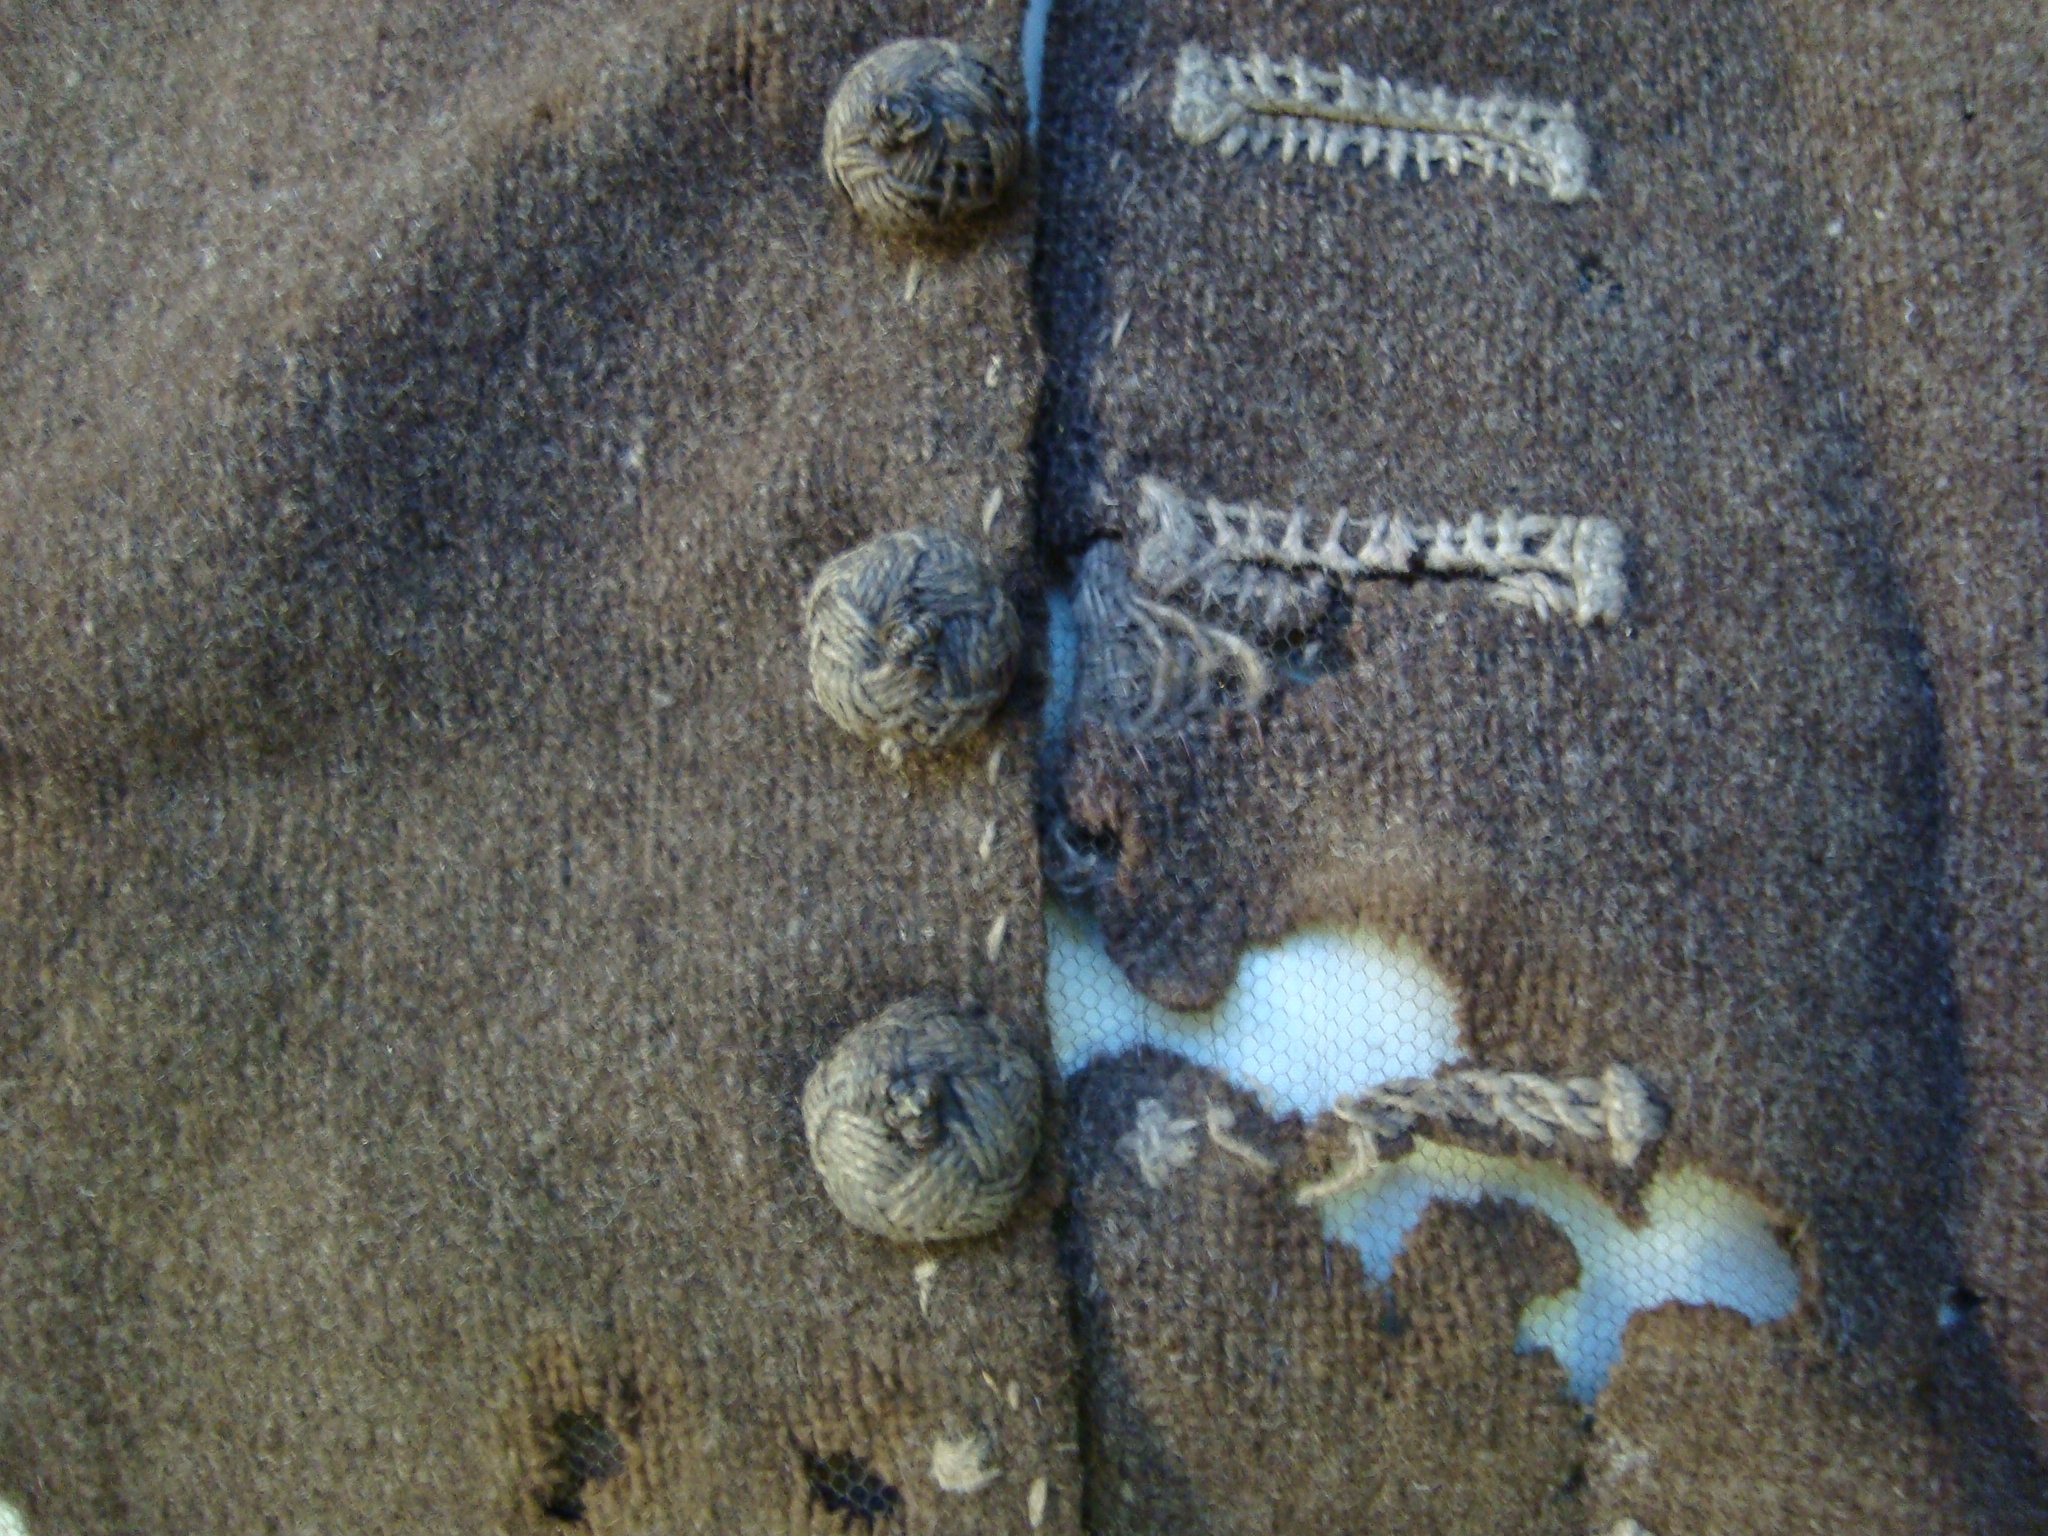
The basic outline comes from a coat that I’ve discussed before in Colchester Museum. The construction of the whole thing is very simple and the buttonholes are no exception. If you look at this photo you will see what I mean. The buttonhole starts as a thread gimp around the cut hole and then stitches are worked around the opening, not as close as you would expect from more modern buttonholes, making the whole thing quite open and actually quick to make. The thread at the end is worked around the sidebars to finish the thing off.
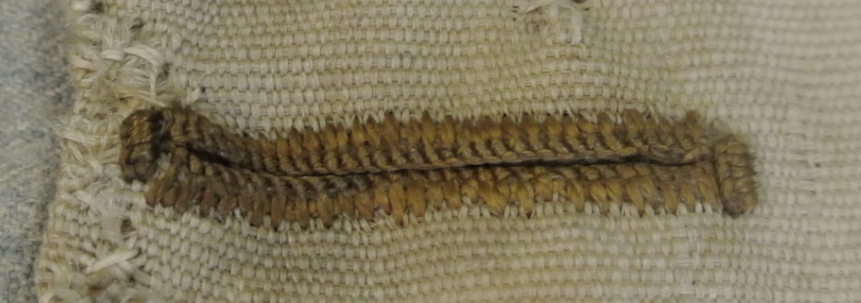
Here’s another example from a 1630/40 coat. Though this is more closely worked, the technique is very similar.
Now here is my version.

First mark out your buttonholes and tack (or pin) around where the hole will be to stop the layers from moving.
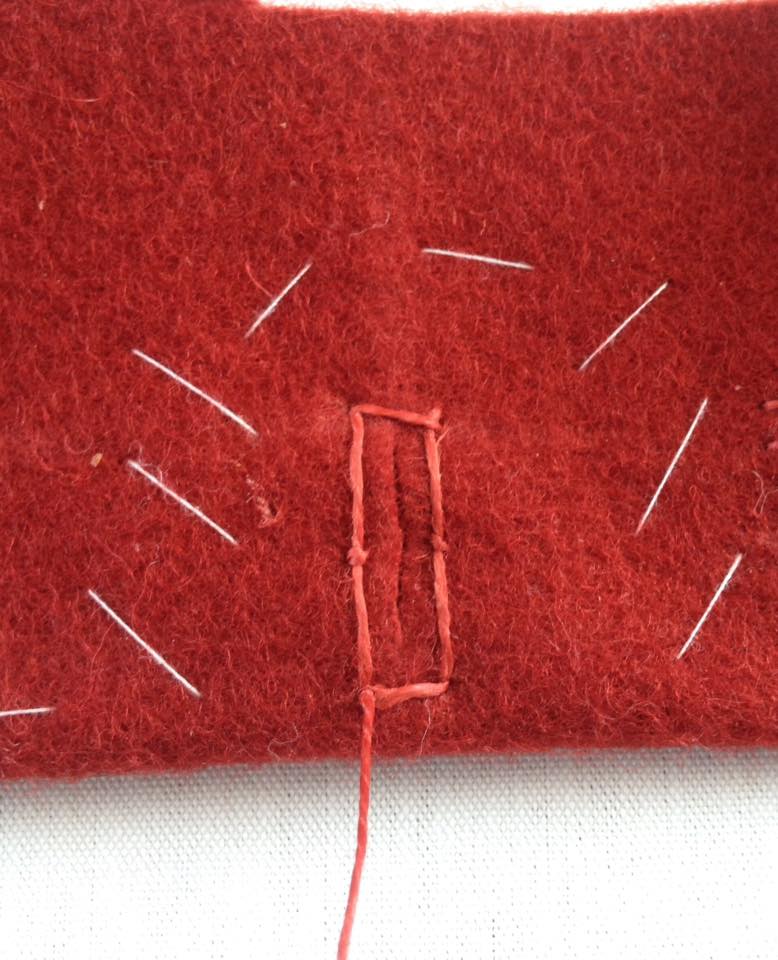
Work the thread around the hole, outlining the buttonhole and making sure not to pull it too tight. I like to put in a couple of anchor stitches on the long edge to stop the gimp migrating into the hole.
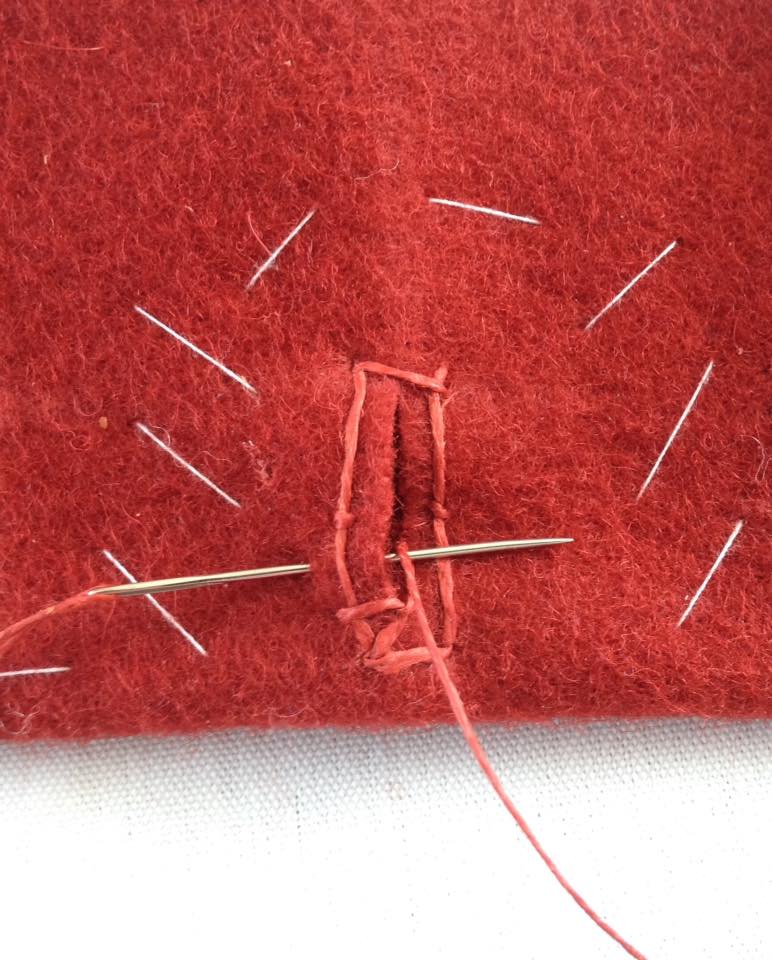
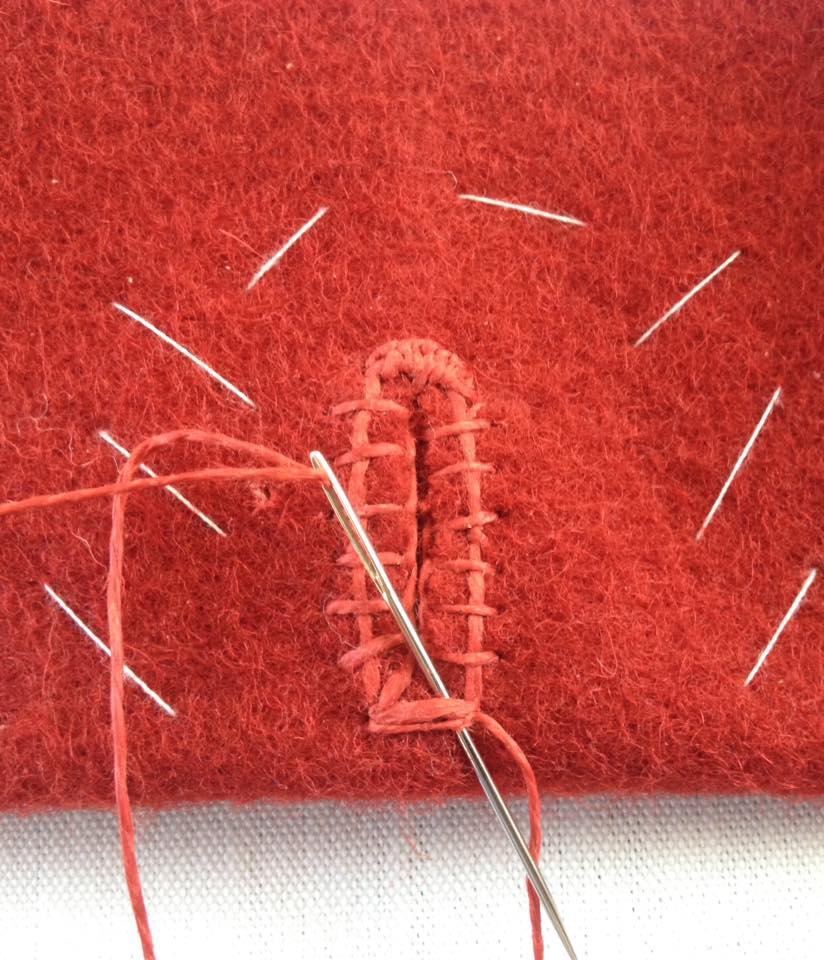
Make the basic stitches in this manner, so the thread lies across the outlining thread and so that the knot is made on the inner face of the buttonhole. Work all the way up one side in this manner. I’m just wrapping the thread over the needle here. You could go right round to create more of a knot, the choice is yours.

Work around the bar at the top with simple knots. I like to make the centre stitch go through the fabric to anchor the bar. Then work back down the other side. Try to match the stitches evenly on either side, though the maker of the coat didn’t always do this very accurately!
Work another bar at the bottom and finish off.
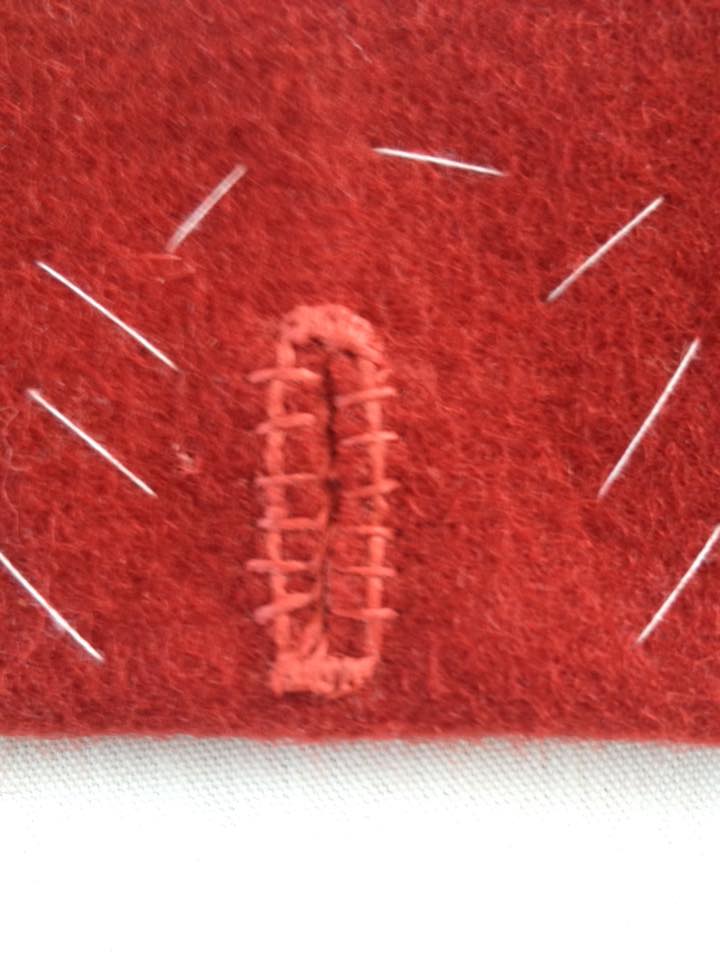
The finished buttonhole. Simples!
